11/25/12

Be Still and Know...Artwork


What to do with blank canvases and wood chip letters? Make wall artwork of course! I am currently taking a Elements of Design class that has really gotten me in an art minded mode where I am consistently looking for new inspiration with color, words etc. I have been really wanting to make a bible verse inspired artwork for the dorm and found this great pin that was simple and did not that was simple, used some elements of design inspiration and looks great.


The verse inspired by "Be Still and Know" is Psalm 46:10:

 "He says, “Be still, and know that I am God;
    I will be exalted among the nations,
    I will be exalted in the earth.”


Materials:
  • Acrylic Paint (I just used blue and white to mix my own colors)
  • Canvas - any size you choose
  • Chip Chatter Tall Adhesive letters (The color does not matter since you are painting over them)
  • Paintbrushes (I used size 4)


First take your letters and position them as you would like on your canvas. Then peel off the stickers and place them on the board. Then take your blue and white (or whatever color you want to fade) and mix a light blue to paint at the top part of your painting. Then when you decide you want to transition the colors, place blue on your pallet (or whatever surface you are mixing colors on) and only and a bit of blue to your mic to get a slightly darker blue to begin fading. 

With this part you really just have to play around with how dark you want to make your bottom shade of blue. In order to blend take your paintbrush and stroke back and forth the light and dark blue so if flows easily.

Once you have painted to your hearts desire, you now have a beautiful new piece of artwork to display for all to see!

10/31/12

DIY Watermark T-Shirt


During my fall break I had the blessing to take a road trip to Indianapolis and Cincinnati with my roommate and a few of our close friends we never usually get to see when we were at school. It was an incredibly  relaxing yet busy fall break that was such an awesome time for friendship, fellowship and taking  a much needed break from the craziness of Grove City. 

One of the coolest blessings of the entire trip actually was meeting my friend's sister as well as roommate whose apartment was decked out with pinterest crafts. To say the least, I was in crafting heaven. After being inspired by all the crafts in the apartment, we collectively decided to make a night of crafting, chocolate covered pretzels and plenty of romantic comedy movies. 


One of the roommates was talking about her latest project, dyed batik T-Shirts. After seeing the tutorial here we could not even resist trying this project. After making a forever 21 run to get some cheap v-necks and looking up some bible verses, this pinterest project was a go.


Materials:
  • Cotton T-Shirt
  • Elmer's Glue
  • Plastic bag (for inside the shirt)
  • T-Shirt Dye (we chose a light pink)


You first need to wet your shirt completely with cool water. Next take your shirt, put the bag in between and draw whatever your heart desires.


You then need to allow the shirt and glue to dry completely. Warning, it will take a while. We actually had to blow dry them the next day in order to try to try them.

Finally dye following the box instructions, wash and enjoy! Below is our finished projects!


9/26/12

DIY: Ticket Artwork


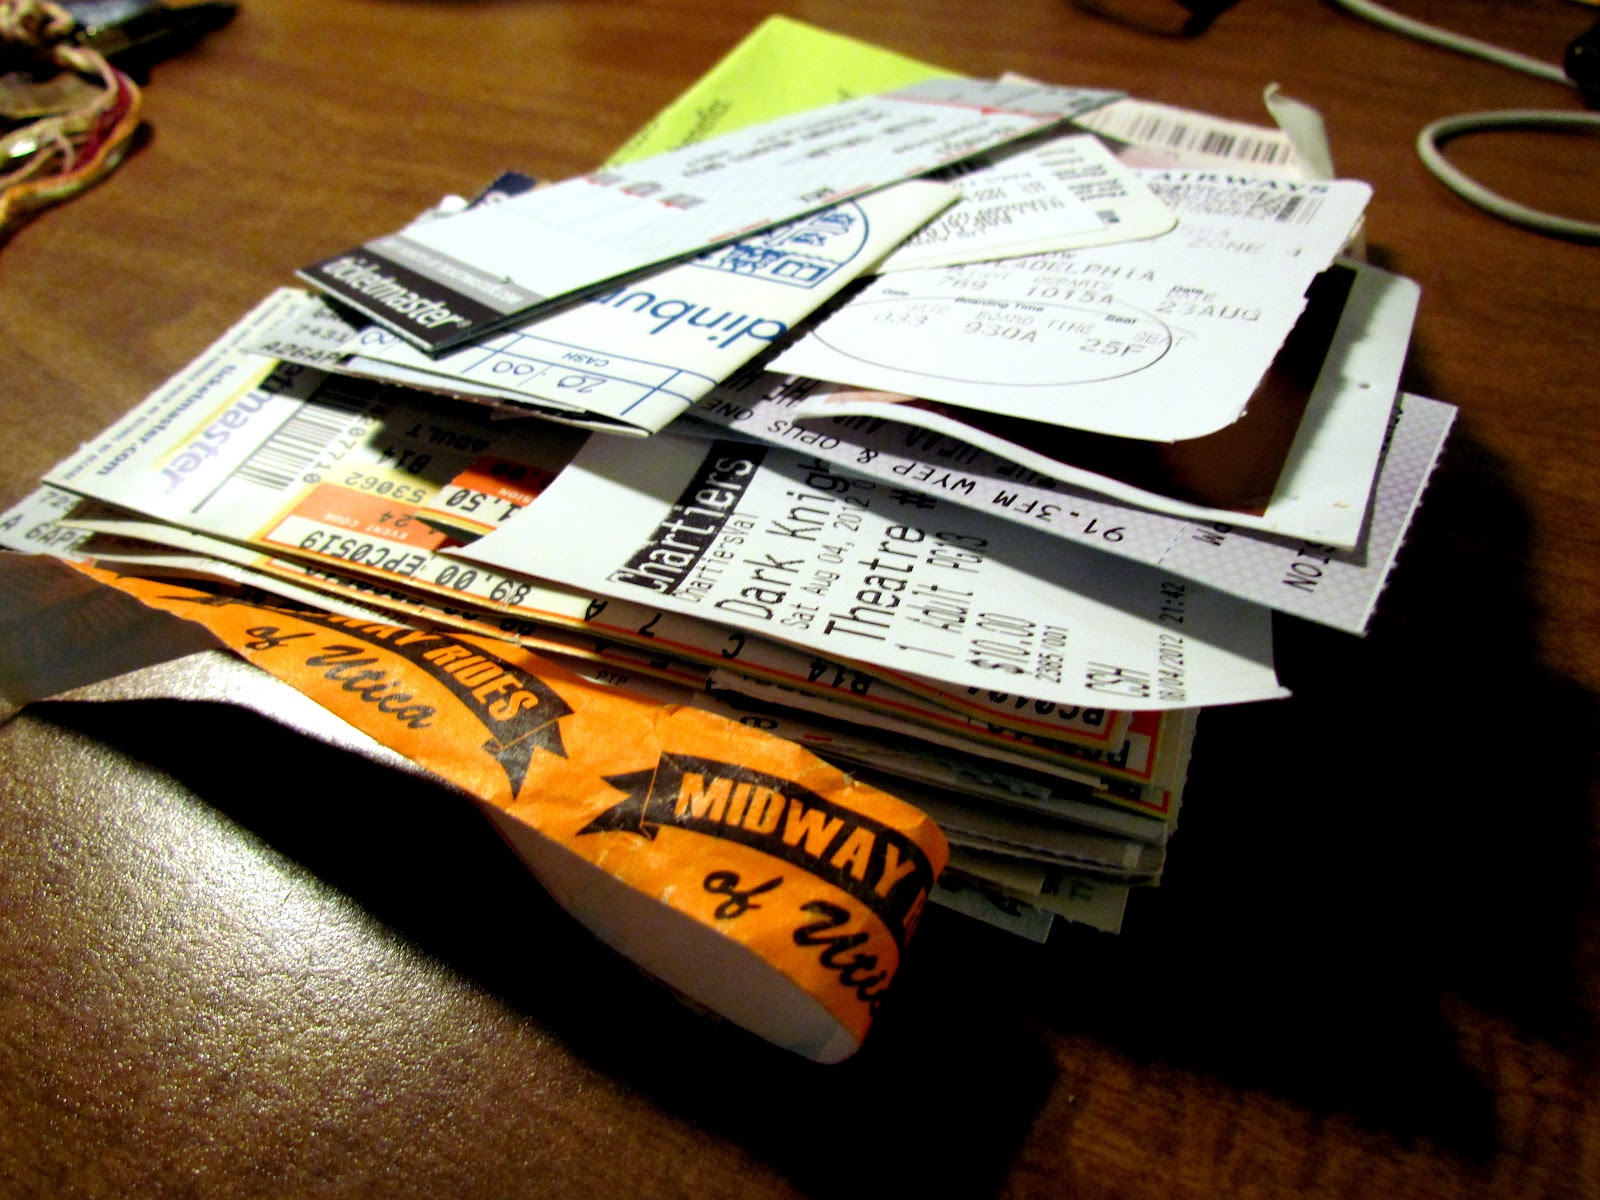
I have been collecting ticket stubs since as long as I can remember. Whether it be a cheesy teen movie or the concert of a lifetime, I save them and cherish the memories that flood back when I look at them. For the majority of high school these ticket stubs have been tacked onto a bulletin board growing in size, number and inconvienence. However, I stumbled upon the cutest idea to store them in a fun, artistic way! Here is the original pin where I found the inspiration.


What you need:
  • Shadow box (I purchased mine at IKEA)
  • Scrapbook paper
  • Letter stickers (optional if you choose to write "Admit One" yourself)
  • Ticket stubs or memorable scraps of paper


With this project you honestly do not have to have any creative ability. You simply cut out a piece of scrap booking paper to fit the back of the box, write "Admit One" or whatever saying fits your fancy, put the ticket stubs in the front of the box and close it up. You know have a beautiful new memory holder to display on your wall or shelf.


I decided to place mine on my shelf in my dorm so my light will shine on it and if people see it, it starts a conversation. What creative ways do you display memorable ticket stubs or papers you acquire?

9/19/12

DIY: Chevron Art


Lately I have become very inspired by stripes. I am taking an elements of design course and all of my projects have related to some form of lines or stripes. This has definitely been an awesome way for me to look at art and my DIY projects! Some of my favorite striped projects I have seen on the Pinterest sphere are chevron stripes. Streamlined and classy, yet they are still so fun and you can be so creative with them! These two (pin 1 and pin 2) are my inspiration for the project.


What you need:
  • Canvas
  • Painters tape
  • Scissors
  • Ruler
  • Assorted paint - this is completely up to you. I chose spray paint but you can use whatever paint your heart desires


You first need to tape off the canvas with your desired chevron stripe length. I used a ruler for the first two rows in order to get an accurate estimate of spacing and and just make sure I had enough points on the canvas to make the chevron pattern look even. However, with that being said I was pretty relaxed with it because I was by no means aiming for perfection. 

Also side note, the taping does take a while and is hard to get used to. I at many times had to redo pieces, cut small strips to fill awkward gaps and stand up to get a better view of the painting. Pretty tedious work, but worth it. 

Once you have your entire canvas taped, you are free to begin to paint. I chose using two different spray paints to add to a more "messy chevron" look I was achieving. I painted every other stripe with the orange, then the blue, waited about 3 minutes and added a second coat. Wait approximately 2 hours until your painting is dry and take off and you have a beautiful new piece of art for your room.


The great thing about this artwork is you have a lot of room for creativity. I contemplated painting a bible verse on, cutting out a silhouette (like the giraffe pin) or painting a monogram on, but I actually really like the simplicity of the piece. What ideas would you use to spice up the chevron? Also if you have ever tried it or want to, let me know!

9/12/12

DIY Button Art


When you think of childhood what do you think of? Cotton Candy, Streamers, bike riding or swing sets? Well, I automatically think of buttons. While a random choice, my mind always immediately thinks of the pencil shaped buttons I had on my Kindergarten jacket or the apple buttons on my teacher's cardigan. So when I stumbled upon this pin about button monogram art, I just had to try it.


This is definitely an easy way to make some art for your dorm, bedroom etc. All you need is:
  • Canvas
  • Hot glue gun
  • Assorted buttons (I found mine at Hobby Lobby)
  • Letter stencil (I own a cardboard A that I am saving for another project, so I used that as my stencil


All you have to do trace and start glueing. Simple right! When I glued, I really made sure to get a couple layers of buttons in order for there to be more depth and so you the canvas under the A tracing would not be visible.


Glue your favorite colors, shapes and forms! I really tried to make sure I used some plainer looking buttons for the bottom layer and then strategically placed some larger and more embellished buttons on top. 


Send pictures of your own button art creation! Are you using the monogram format like I am or are you feeling extra creative and made your own art piece?